
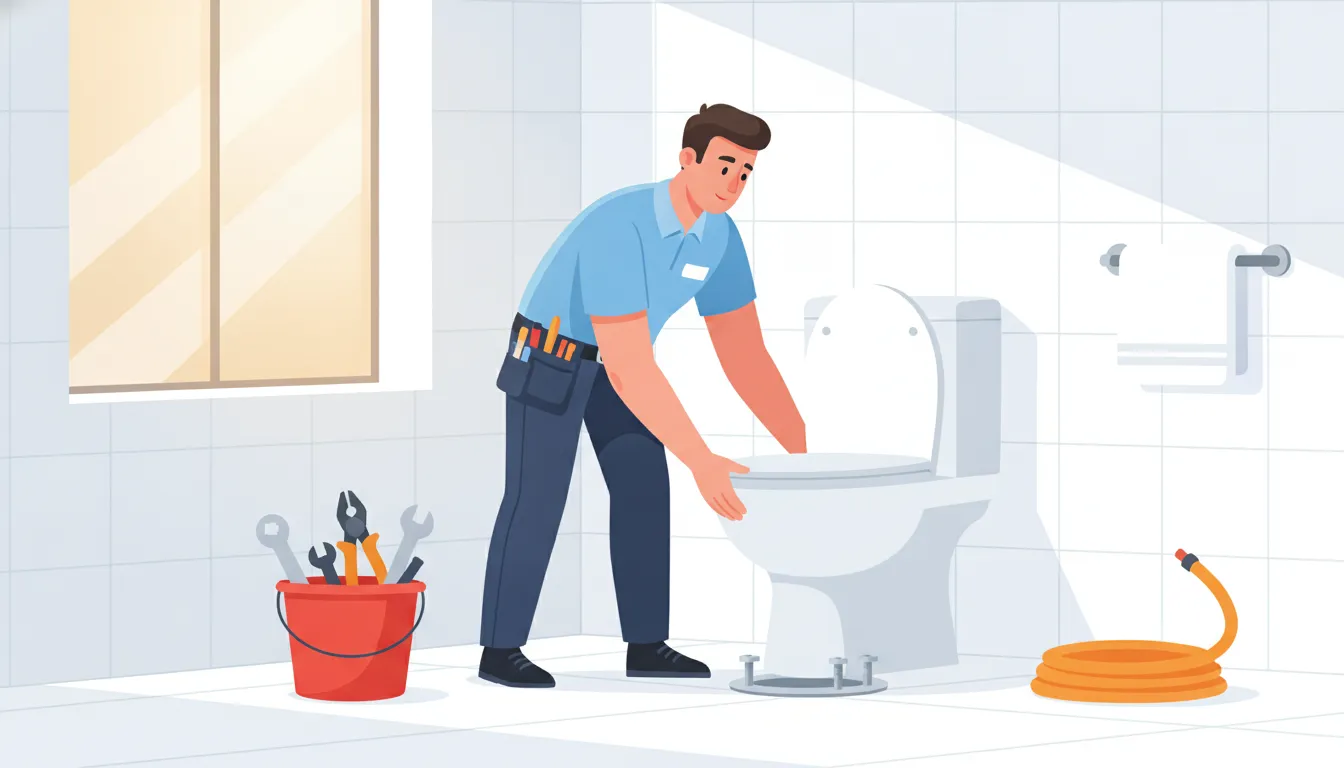
How to Install a Toilet: A Safe Homeowner Guide
A toilet replacement can look simple, but a small sealing or connection problem can damage flooring and create a persistent leak. Careful preparation protects your home.
Contact Miranda for licensed plumbing help
Learning how to install a toilet starts with shutting off the water, checking the flange and floor, fitting a new seal, and testing every connection. Stop and call a licensed plumber if the flange is damaged, the subfloor feels soft, the shutoff will not close, or leaks continue.
Before lifting the new toilet into place, gather the right tools and make the work area safe. Confirming the existing connections and drain opening first can prevent avoidable damage and show whether this project fits your skill and comfort level.
What Should You Do Before Installing a Toilet?
- Read the toilet manual and gather supplies. Check the model instructions before starting, because required parts can vary. Prepare adjustable pliers, a wrench, a screwdriver, a bucket, towels, gloves, a utility knife, and a floor covering. Have a new wax ring or approved replacement seal, new closet bolts, and a compatible supply line ready.
- Protect the bathroom floor. Place towels or a waterproof covering around the toilet. Keep a bucket nearby for water remaining in the tank, bowl, or supply line. Porcelain is heavy and awkward, so arrange help before lifting the old bowl.
- Shut off the water supply by hand. Turn the toilet's shutoff valve clockwise until it stops. Do not force it with pliers or another tool, because the valve could break. If the valve will not turn by hand, stop and contact a licensed plumber. A working shutoff is essential before any plumbing repair.
- Flush and drain the toilet. Flush until the tank is empty. Hold the handle down briefly to remove as much water as possible. Sponge remaining water from the tank and bowl into the bucket. This reduces spills when you disconnect the supply and lift the bowl.
- Disconnect the supply line carefully. Place the bucket beneath the connection. Loosen the supply line at the tank or shutoff valve, then allow trapped water to drain. Stop if the connection is corroded, seized, or begins twisting the shutoff valve.
- Remove the old bowl. Take off the caps and loosen the nuts on the closet bolts at the base. Cut through old caulk only if needed. Rock the bowl gently to break the seal, then lift it straight up with help. Set it on the protected floor or carry it outside.
- Protect the open drain immediately. Scrape away old wax and wipe the flange clean without dropping debris into the drain. Cover the opening with a temporary rag or drain cover. Keep the barrier visible, and remove it before installing the new seal.
- Stop for a condition check. Look for a loose or damaged flange, soft flooring, water damage, or a drain connection that needs alteration. Do not continue if the shutoff fails, bolts are seized, or the drain opening cannot stay protected. These conditions call for professional plumbing services before the new toilet is set.
How Do You Install a Toilet Safely?
With the old bowl removed, keep the drain opening covered until you finish the inspection. This prevents debris from entering the drain.
The flange is the ring secured around the drain opening. It provides the mounting surface for the toilet and holds the closet bolts.
What Should You Inspect Around the Flange?
Remove old wax carefully without scratching the surrounding surface. Look for cracks, breaks, corrosion, or movement when you apply gentle pressure.
The flange should sit securely and provide a stable base for the replacement toilet. Do not continue if it shifts, sits unusually low, or appears damaged. Check the closet bolts that extend through the flange slots. They should be intact, positioned correctly, and strong enough to hold the bowl during installation.
Inspect the floor around the opening for staining, swelling, or soft areas. Moisture damage can extend below the visible flooring. Press gently near the flange, but do not force the floor. A soft subfloor can allow the toilet to move and may cause future leaks.
How Do You Check the Wax Ring and Drain Opening?
A wax ring is a sealing part that closes the gap between the toilet outlet and the drain flange. Approved replacement seals can serve the same purpose.
Never reuse a wax ring after removing the toilet. Replace any seal that is compressed, torn, contaminated, or otherwise damaged.
Inspect the drain opening for debris, standing water, or anything that could prevent the bowl from sitting evenly. Keep the opening protected during this work.
Check that the drain path has not been altered or damaged. A drain problem requires more than replacing a toilet seal.
Do not add extra sealing material to compensate for a loose flange or an uneven floor. The underlying problem needs proper correction first.
When Should You Stop the Installation?
Stop and call a licensed plumber if the flange is unstable, the subfloor feels soft, or the drain connection needs changes.
Also stop if closet bolts are seized, the shutoff connection is corroded, or you cannot identify a safe repair.
Miranda provides professional plumbing services for fixture repairs and installations. A technician can diagnose the issue, explain the repair, and verify the finished work.
Careful inspection protects the floor, the new fixture, and the rooms below it. Confirm the base is stable before setting the bowl.
How Do You Set and Secure the Toilet Bowl?
Once the flange and new seal are ready, setting the bowl requires careful alignment. Porcelain can crack when the bowl is forced, rocked, or tightened unevenly.
- Position the closet bolts. Place one bolt on each side of the flange, with the threaded ends pointing upward. Use the bolt slots to match the toilet base spacing. Keep both bolts upright while you prepare to lower the bowl.
- Lower the bowl straight down. Hold the bowl by its sides and align the openings in its base with the closet bolts. Lower it vertically over the seal. Avoid sliding the bowl across the seal or twisting it into position.
- Apply even pressure. Press down gently on both sides of the bowl. The base should settle evenly onto the floor and seal. Do not rock the bowl aggressively, because movement can damage the seal or stress the porcelain.
- Check that the bowl is level. Place a level across the bowl from side to side, then check it from front to back. If the floor is slightly uneven, use suitable toilet shims beneath the base. Do not force the bowl level by tightening one side more than the other.
- Hand-tighten the nuts. Add washers and nuts to the closet bolts. Tighten each side by hand, alternating between sides. Continue only until the bowl feels stable. Porcelain does not require the force used for metal fittings.
- Protect the porcelain. If a wrench is needed, make only small turns on alternating sides. Stop immediately if the base shifts, the nut binds, or the porcelain begins to flex. Overtightening can crack the bowl and create a hidden leak.
- Trim the exposed bolts carefully. If the bowl is stable, trim excess bolt length with an appropriate tool. Leave enough thread for the decorative caps. Do not strike the bolt or place force against the bowl.
Sealant around the base depends on the installation and applicable local requirements. Do not use sealant to hide movement, an uneven floor, or a damaged seal. Correct the underlying problem first.
If the bowl will not sit level, the flange moves, or the floor feels soft, stop before connecting the tank. A licensed plumber can inspect the supporting surface and drain connection. For professional help, visit Miranda's professional plumbing services.
How Do You Install the Tank and Water Supply?
After the bowl is stable, install the tank according to the toilet manufacturer's instructions. Two-piece toilets use a separate tank, gasket, and mounting hardware.
How do you attach the tank?
Place the large rubber gasket over the tank outlet beneath the tank. The gasket creates the seal between the tank and the bowl.
Set the tank onto the bowl while guiding the gasket into the bowl opening. Insert the supplied bolts through the tank and bowl.
Use the washers and nuts supplied with your toilet. Tighten each side a little at a time, alternating between the bolts.
Even tightening helps the tank sit level and keeps pressure balanced. Stop when the tank is secure and does not wobble.
Do not overtighten the tank bolts. Excessive pressure can crack porcelain, damage the gasket, or create a leak that appears later.
Check the tank with a level if needed. A slight adjustment may be possible while the bolts remain only moderately tight.
How do you connect the water supply?
Connect the supply line between the shutoff valve and the tank fill-valve connection. Use the fittings and washers specified for your toilet model.
Keep the supply line aligned without sharp bends or sideways strain. Hand-tighten plastic connections, then follow the product instructions for any final tightening.
Do not force a corroded fitting or use tools on a fragile plastic connection. Stop if the shutoff valve will not close completely.
Open the shutoff valve slowly. A gradual flow gives you time to spot drips around the valve, supply line, and tank connection.
Let the tank fill while watching every connection. The fill valve should stop when the water reaches its adjusted level.
Flush once, then inspect the tank connection and floor around the bowl. Repeat the inspection after the floor becomes completely dry.
How do you finish the installation?
Install the toilet seat using its supplied hardware. Center the seat, tighten the fasteners evenly, and avoid overtightening them against the porcelain.
Read the toilet manual before adjusting the fill valve or installing optional components. Parts and adjustment methods vary between models.
If the shutoff valve, supply connection, or tank continues leaking, stop using the toilet. Professional plumbing services can help diagnose the connection and complete a safe repair.
How Do You Test a New Toilet for Leaks?
Testing should begin before you consider the installation finished. A slow leak can damage flooring, loosen the seal, or remain hidden beneath the toilet.
Open the shutoff valve slowly and watch the tank fill. Check the supply connection, valve stem, and tank inlet while water pressure returns. Keep a dry cloth nearby, because a damp connection can be easier to spot by touch than by sight.
When the tank is full, flush the toilet several times. Let it refill fully between flushes. Watch the bowl base during each flush, because water may appear only when the drain carries discharge.
Inspect the tank-to-bowl connection after every flush. Look around the tank gasket, mounting bolts, and the connection beneath the tank. A small bead of water can indicate an uneven gasket or a connection that needs attention. Next, inspect the floor around the entire base. Do not rely on sound alone, because some toilet leaks can flow silently. Use a dry paper towel or cloth around the back and sides of the base.
Dry the floor completely, then wait several minutes. Run another flush and check the same areas again. Drying the floor first helps distinguish new water from moisture left during installation.
Recheck the toilet later the same day and again after normal use. Look for a damp floor, a growing stain, a musty odor, a rocking bowl, or water that returns after wiping.
Stop using the toilet if water reaches the floor repeatedly, the bowl backs up, or the leak grows. Shut off the supply valve without forcing it, then seek emergency plumbing help for an urgent leak or backup.
If the toilet passes repeated checks but you remain uncertain, a licensed plumber can verify the installation. Miranda's process includes quality verification and a final walkthrough, helping protect your home from hidden plumbing problems.
When Should You Call a Licensed Plumber?
Stop the installation and call a licensed plumber when the work reveals a condition that could damage your home or compromise the drain seal.
Stop when the shutoff or connections will not cooperate
If the shutoff valve will not close by hand, do not force it with a wrench. A stuck valve can break internally and leave water flowing during the repair. Corroded or seized closet bolts, supply connections, or fittings also deserve professional attention. Forcing old hardware can crack porcelain, damage threads, or create a leak behind the finished wall.
Miranda can evaluate the connection and recommend a safe repair before installation continues.
Stop when the floor, flange, or drain needs more than a basic replacement
A flange is the fitting that anchors the toilet and connects it to the drain. Call for help if the flange is damaged, loose, unstable, or no longer sits correctly. Do not install over a soft, wet, or visibly damaged subfloor. Those conditions may indicate hidden water damage beneath the toilet.
Drain changes, altered pipe locations, or sewer-gas concerns should also move the project beyond basic homeowner work.
Sewer gas, recurring backups, or a persistent foul odor can signal a drainage problem that needs diagnosis.
Miranda's toilet repair and installation services can address fixture problems without turning this informational guide into a substitute for site evaluation.
Stop when testing reveals a repeated leak
After installation, shut off the water and call for help if the base, tank, or supply connection leaks repeatedly.
Do not keep tightening porcelain connections to chase a leak.
Overtightening can crack the bowl or tank and make the problem worse.
Dry the floor, flush several times, and inspect each connection before deciding the work is complete.
If water returns, stop using the toilet until a professional identifies the source.
Urgent leaks or backups may require emergency plumbing help.
Get help when you are uncertain
You do not need to finish a DIY project simply because you started it.
If you cannot identify a part, level the bowl confidently, or verify the seal, pause and ask for help.
Miranda's process begins with diagnosis, followed by a written estimate before work starts.
The team then completes the repair or installation, verifies quality, and provides a final walkthrough.
For broader needs, review professional plumbing services or contact Miranda for licensed guidance.
Schedule licensed plumbing help with Miranda
| Condition | Recommended action |
|---|---|
| Working shutoff, stable flange, sound floor | Continue carefully with the manual and leak testing. |
| Damaged flange, soft floor, seized connection | Stop and request licensed plumbing help. |
| Repeated leak, backup, or sewer-gas concern | Stop using the toilet and seek prompt evaluation. |
Frequently Asked Questions
Can a beginner install a toilet?
A careful homeowner can replace a standard floor-mounted toilet when the shutoff works, the flange is stable, and the floor is sound. Follow the fixture manual, protect the open drain, and stop if conditions differ from the expected setup.
How do you install toilet plumbing safely?
Shut off the water, empty the tank, inspect the flange and seal, and connect the supply line without forcing fittings. Open the shutoff slowly, then check the base, tank connections, and floor after several flushes.
How do you install a toilet tank?
Place the tank gasket between the tank and bowl, lower the tank into position, and tighten the bolts evenly. Use only enough pressure to secure the tank, because overtightening can crack porcelain.
When should you call a licensed plumber?
Call for help if the shutoff will not close, the flange is damaged. The subfloor feels soft, connections are seized, the drain must change, or a leak continues after testing.
How much does it cost to install a toilet?
The total cost varies with the toilet model, existing plumbing condition, access, disposal needs, and repairs discovered during removal. Request a written estimate after the installation site is evaluated.
Ready to Get Help With Toilet Installation?
A toilet installation can involve hidden flange damage, unstable flooring, or connections that continue leaking after the first test. If you are unsure about a step, stop before water damage or porcelain damage occurs.
A professional assessment can help identify the issue, explain the recommended work, and verify the finished connection.
Need plumbing or HVAC service on the Treasure Coast?
Contact Miranda Plumbing & Air