
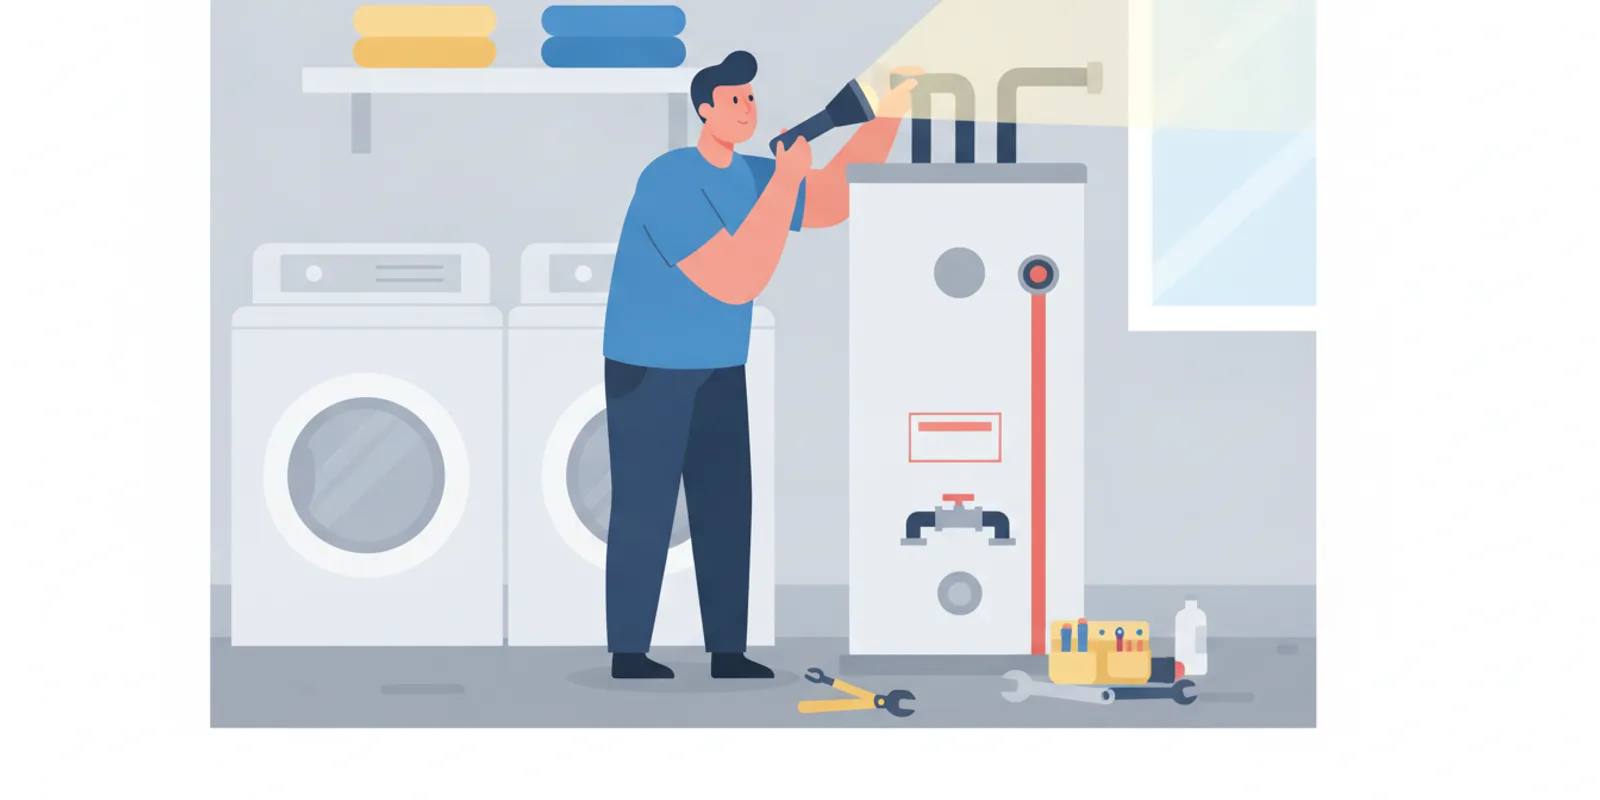
Water Heater Leaking From Top: What to Do
When you find a water heater leaking from top, the wet spot does not always identify the source. Water can collect around fittings, travel across the tank, or drip from a connection above it. Start by reducing immediate risk, then look for clues without taking the heater apart.
This guide explains what you can safely check, which conditions call for prompt help, and what a plumber may inspect. It is not a substitute for a professional diagnosis. Water heaters combine water, electricity or gas, and sometimes hot surfaces, so avoid repairs beyond your experience.
What should you do first when a water heater leaks from the top?
First, keep people and pets away from standing water, especially if it is near electrical equipment. Do not touch wet wiring, electrical panels, the heater's controls, or any gas line. If you can reach the area safely, take a photo and note when you first saw the water.
If water is actively spreading, shut off the cold-water supply to the heater only when the valve is accessible and safe to operate. The shutoff is commonly on the cold-water pipe entering the tank. If you are unsure which valve controls it, or the valve is corroded, do not force it.
For an electric heater, do not reach across wet flooring to operate its breaker. If the electrical panel and path are dry and safe, you may switch off the heater's circuit. If there is any doubt, keep away and call a qualified professional or emergency services when an immediate hazard exists.
For a gas-fired heater, do not attempt to disconnect a gas line or troubleshoot the burner. If you smell gas, leave the area without operating switches or creating a flame, then contact your gas utility or emergency services from a safe location. A small leak still deserves prompt attention because water can damage nearby materials.
- Move stored items away only if the floor is safe and the items are not electrical.
- Use a dry towel to identify where water is appearing, but do not touch hot or energized components.
- Do not remove panels, tighten fittings, or apply sealant while the heater is hot or pressurized.
- Record whether the leak is steady, intermittent, or present only during heating or hot-water use.
When the immediate area is safe, arrange an inspection if water returns or the leak's source is unclear. A plumber can evaluate the fittings, valves, tank, and nearby piping. For local plumbing services, share your observations and photos when requesting help.
What can cause water to appear on top of a water heater?
Several parts meet above a tank water heater. The cold-water inlet and hot-water outlet connect to the home's piping, and some installations have unions, valves, or flexible connectors nearby. A drip at one of these connections can run along a pipe or the tank before it becomes visible.
A temperature and pressure relief valve may also connect to piping near the heater. Its discharge pipe is intended to carry water away if the valve opens. Do not cap, block, or disable this pipe. If water appears around the valve or discharge line, keep clear and ask a plumber to identify why it is discharging.
Condensation can sometimes look like a leak, especially when conditions change. But repeated pooling, a steady drip, or water around a connection should not be dismissed as condensation. The water's path may not point directly to its source. InterNACHI's discussion of a water heater leak from above notes that surface tension can make small leaks follow unexpected paths.
In some cases, water comes from piping or another fixture located above or beside the heater. A roof, plumbing, or appliance leak can travel down a wall and collect on the tank. Check the ceiling and nearby surfaces visually, but avoid climbing or opening walls to investigate.
How can you compare the clues and next steps?
Use visible clues as a starting point, not a diagnosis. Water may move before it drips, and different leaks can look alike. The table below helps organize what you see and what to tell a plumber.
| Visible clue | Possible area to inspect | Practical next step |
|---|---|---|
| Moisture near a cold or hot water connection | Pipe joint, connector, or nearby valve | Photograph it and arrange plumbing inspection if moisture returns. |
| Water near a relief valve or its discharge pipe | Temperature and pressure relief valve or discharge piping | Keep the discharge path clear and request prompt professional evaluation. |
| Water appears to come from a ceiling or wall | Piping or another source above or beside the heater | Note the location and check visible surfaces without opening walls. |
| Tank surface is damp without an obvious drip | Condensation or a small leak that has traveled | Dry the accessible area, watch for recurrence, and seek help if it returns. |
| Water keeps spreading or is near electrical components | Active leak and possible electrical hazard | Stay clear, avoid touching equipment, and get qualified help promptly. |
Do not rely on the table to decide whether a fitting needs tightening or a valve needs replacement. The safe response depends on the heater type, installation, leak rate, and surrounding conditions. If the source is hidden or water returns after drying, leave diagnosis and repair to a qualified plumber.
What parts above the tank may need inspection?
Cold-water inlet and hot-water outlet
The two main water connections are common places to look for visible moisture. A connection may seep at a joint or connector, while water travels along the pipe before dripping. Do not assume the fitting directly above a wet spot is the only possible source.
A plumber may dry the area, check the connection and surrounding piping, and determine whether a repair is appropriate. The repair depends on the actual component and installation. Avoid tightening a connection yourself: excessive force can damage fittings or create a larger leak.
Shutoff valve and nearby piping
The cold-water shutoff valve is useful if a leak requires isolating the heater. It may be located on the pipe supplying the tank. A plumber can assess whether the valve itself or a nearby joint is leaking, and whether the valve works as intended.
Keep the route to the valve clear, but do not force a stuck or visibly damaged handle. A valve that will not operate safely can complicate a leak response. Explain its condition when you contact a professional.
Temperature and pressure relief valve
The relief valve is a safety device, and its discharge piping must remain unobstructed. Water around this area can have more than one explanation. Do not plug the outlet, remove the valve, or try to stop discharge by changing its setting.
Tell the plumber whether water is coming from the valve body, its connection, or the end of the discharge pipe, if you can see that safely. The plumber can inspect the valve and heater conditions. Do not put a container under a hot discharge point or stand in its path.
Tank top, insulation, and surrounding surfaces
Water on the top surface can be a clue, but it may have arrived from elsewhere. Some parts are concealed by covers or insulation. Removing those materials can expose hot, electrical, or pressurized components, so leave that work to a professional.
Look at nearby ceilings, walls, and visible piping from a safe position. A leak from above may follow a pipe or surface and appear to start at the heater. A plumber can help distinguish a heater problem from water originating elsewhere.
When should you call a plumber promptly?
Arrange prompt service when you see an active or recurring leak, water near electrical parts, a relief valve discharge, or moisture whose source is uncertain. A leak can damage flooring, cabinets, and stored belongings even when its flow seems modest.
Leave the area and seek urgent help if you smell gas, see sparking, or encounter water around energized equipment. Do not approach the heater to take photos or operate controls. Follow instructions from your utility or emergency responders.
If the leak has stopped, still pay attention to evidence such as a damp fitting, staining, or water returning after the heater runs. A leak that appears intermittent may be harder to locate later. Share when it occurs, how much water you observed, and whether hot-water use seems related.
What should you avoid doing before the source is clear?
Do not remove access covers or insulation to search for a hidden leak. Those areas can conceal electrical connections, hot surfaces, or other components that require proper handling. Taking apart a cover can also make it harder for a technician to see the original condition.
Avoid using tape, household sealant, or a clamp as a temporary fix. Such materials may not be suitable for hot water or pressure, and they can hide the leak without correcting its cause. Do not cap a discharge pipe or obstruct a drain opening to keep water off the floor.
Do not drain the tank or disconnect pipes unless a qualified professional has instructed you and you understand the procedure. Water can be hot, and draining or changing valves incorrectly may create another hazard. If you need to limit water damage, focus on keeping people away and shutting off the supply only when the valve is safe and familiar to operate.
Also avoid assuming the heater needs replacement based on the location of the water alone. A connection, valve, or separate plumbing source may be involved. The technician's inspection should establish what failed and whether a repair is appropriate. Ask for the reasoning before approving work, especially if the suggested scope is larger than you expected.
Miranda Plumbing & Air offers plumbing support for homeowners. Learn more about water heater repair or water heater installation and replacement if an inspection indicates repair or replacement needs.
What happens during a professional inspection?
A technician will ask what you observed and when the leak appeared. Useful details include whether water is still present, whether it returns, and what area first became wet. Photos can help show a leak's pattern, but never delay safety steps to take them.
The plumber can inspect accessible connections, valves, discharge piping, the tank exterior, and nearby plumbing. The evaluation may also consider whether water is coming from above or from another nearby source. The appropriate checks depend on the heater design and what the technician finds.
Ask the technician to explain the suspected source, the evidence, and the proposed scope before work begins. If a repair is suggested, ask which part is involved and whether the leak could have affected surrounding materials. For a replacement recommendation, ask why repair is not suitable and what the installation work includes.
Costs vary with the source, parts, access, heater type, and any additional work required. There is no reliable price based only on the phrase “leaking from the top.” Request a written explanation of the work and applicable charges before authorizing repairs.
For service coverage, homeowners can review the Treasure Coast service areas or the company's background and service information. Contact a plumber with the details if water is still appearing.
How can you prepare before requesting service?
A few notes can make the first conversation clearer. Do not move the heater or dismantle anything to gather information. Only make observations from a dry, safe location.
- Write down when you first noticed water and whether it has happened more than once.
- Describe where water is visible, such as a pipe joint, valve, tank surface, wall, or ceiling.
- Note whether the water is dripping, pooling, or spreading, and whether it seems to stop.
- Share whether the heater is electric or gas, if you know without approaching a hazard.
- Take a photo only when the area is safe and doing so does not delay urgent action.
- Keep children and pets away from the wet area until the source is addressed.
When you call, ask whether the next step is an inspection, what access the technician will need, and how the estimate will be explained. If the leak worsens while you wait, contact the service provider again and follow safety guidance.
Contact a plumbing professional
Frequently asked questions about a water heater leaking from the top
Can a leak on top of the heater come from somewhere else?
Yes. Water from nearby piping, a wall, or a ceiling can travel and collect on the heater. A visible wet spot does not always reveal the source.
Should I tighten a connection that looks wet?
No. Tightening can damage a fitting or worsen a leak, and the visible connection may not be the source. Ask a plumber to inspect it.
Is water near the relief valve safe to ignore?
No. Keep the discharge path clear and do not adjust or block the valve. Have a qualified plumber identify why water is present.
Can I keep using hot water while the heater is leaking?
Do not assume continued use is safe. The right response depends on the leak and heater, so avoid operating equipment near water and contact a plumber for guidance.
What information should I give the plumber?
Describe when the leak started, where water appears, whether it is ongoing, and any safety concerns. Safe photos and notes can help explain what you saw.
Call Miranda Plumbing and Air holds Florida plumbing license CFC1427227 and HVAC license CAC1815486. If water keeps appearing or you cannot identify its source safely, arrange a professional inspection.
Need plumbing or HVAC service on the Treasure Coast?
Contact Miranda Plumbing & Air