
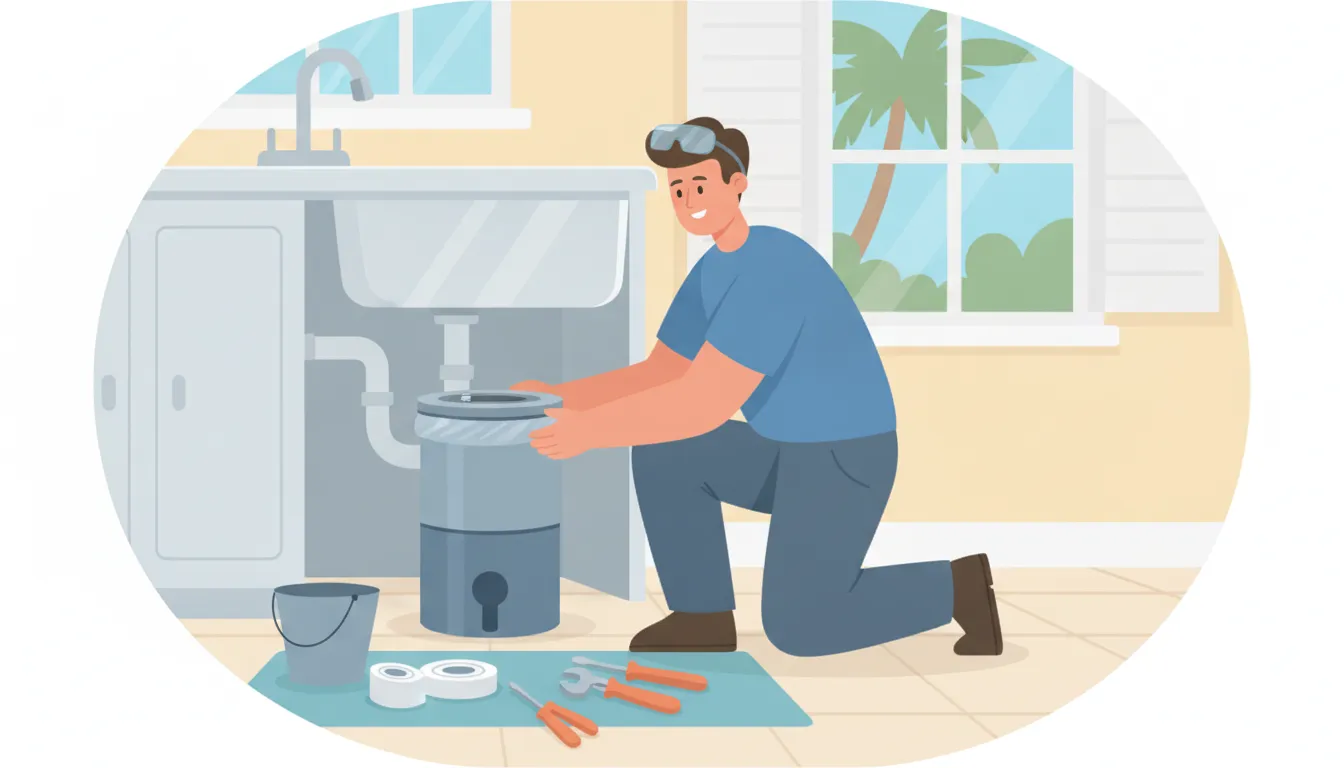
How to Install a Garbage Disposal Safely
Learning how to install a garbage disposal starts with safety, compatibility, and careful preparation. Shut off power, confirm the plumbing layout, follow the disposal manufacturer's instructions, and stop when electrical work exceeds your experience.
Talk with Miranda Plumbing & Air about safe garbage disposal installation.
What Should You Check Before Installing a Garbage Disposal?
A safe installation begins by confirming the sink opening, cabinet space, drain alignment, dishwasher connection, and electrical supply. The replacement unit must fit the sink flange and mounting assembly. Electrical connections require extra caution. If the circuit, grounding, switch, or wiring is unclear, stop and call a licensed professional.
Confirm the sink and disposal are compatible
Check the new unit's specifications before removing anything. Most standard disposals use a common sink opening, but mounting assemblies can differ.
- Measure the sink opening and compare it with the new flange.
- Check the disposal's height against the cabinet and drain connection.
- Confirm the outlet faces the existing drain pipe.
- Review the unit's electrical requirements and installation instructions.
- Check whether the unit includes a mounting ring, gasket, flange, and drain outlet.
- Confirm the dishwasher hose can reach the disposal inlet without kinks.
Do not assume a new disposal fits because an older unit occupied the same cabinet. Small height or outlet differences can change the drain connection.
Plan for a safe power connection
Garbage disposals use electricity near water. That combination makes power isolation essential before any removal or connection work.
- Turn the disposal switch off.
- Turn off the correct circuit breaker.
- Keep the breaker off during the entire installation.
- Confirm the disposal cannot start before touching wiring or mounting hardware.
- Never work on exposed conductors when you are unsure of the circuit.
A wall switch that appears off is not enough protection. A breaker can also be mislabeled. A qualified professional should verify the circuit when its identity is uncertain.
Manufacturer instructions can vary by model. Review the InSinkErator replacement installation guidance when it applies to your unit. The Home Depot installation overview also illustrates common mounting steps.
What Tools and Parts Do You Need?
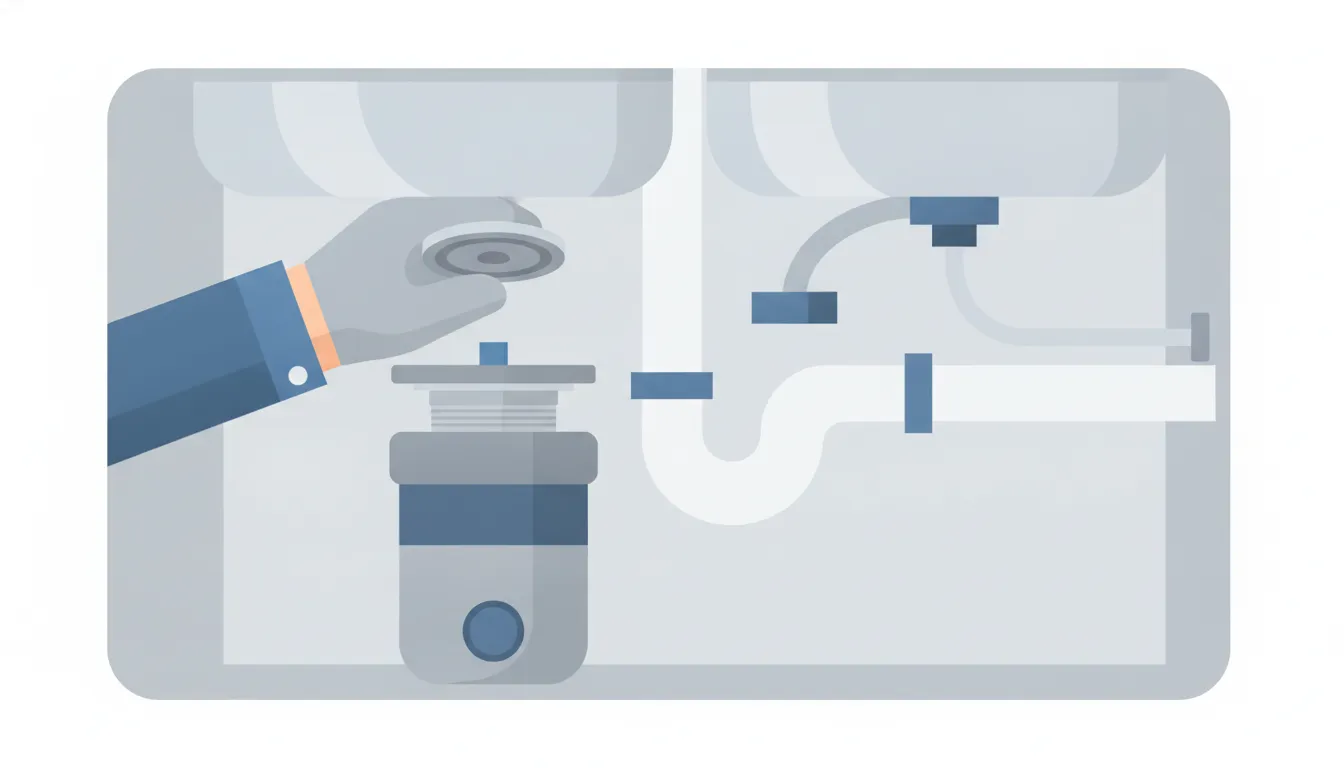
Gather the disposal, sink flange parts, plumber's putty or the specified seal, screwdrivers, pliers, an adjustable wrench, a bucket, and a flashlight. You may also need a drain tailpiece, dishwasher hose clamp, wire connectors, or a compatible power cord. Check the manual before buying parts.
- New garbage disposal with its mounting hardware
- Sink flange and sealing material specified by the manufacturer
- Screwdrivers that fit the mounting and electrical screws
- Adjustable wrench and tongue-and-groove pliers
- Bucket and towels for trapped water
- Flashlight for cabinet work
- Dishwasher hose clamp when a dishwasher connects to the unit
- Approved wire connectors or a listed power cord, when required
- Plumber's level or straightedge for checking the drain path
Keep the work area dry and well lit. Place small hardware in a container so mounting clips and screws do not disappear under the sink.
How Do You Remove the Old Garbage Disposal?
Remove the old unit only after the water and electrical systems are controlled. Support its weight before loosening the mounting ring. Keep a bucket below the drain connection because water may remain inside the trap.
- Close the sink stopper and remove items from the cabinet.
- Shut off the disposal circuit at the breaker.
- Disconnect the dishwasher hose if one is attached.
- Place a bucket under the drain connection.
- Loosen the drain tube or discharge pipe.
- Support the disposal with both hands.
- Release the mounting ring according to the manufacturer's instructions.
- Lower the unit carefully and place it on a towel.
- Photograph the existing connections before changing the flange or wiring.
Do not force a seized mounting ring. A stuck ring can damage the sink or cause the heavy unit to fall.
Inspect the sink opening, drain pipe, and cabinet after removal. Corrosion, cracked fittings, or water damage can require repairs before a new disposal is installed.
How Do You Install the Sink Flange and Mounting Assembly?
The flange creates the sealed connection between the sink and disposal. It must sit flat, remain centered, and stay tight while the mounting assembly is secured underneath.
- Clean old sealant and residue from the sink opening.
- Dry the sink surface completely.
- Apply the sealing material specified for the new flange.
- Press the flange into the sink opening from above.
- Center the flange so its rim sits evenly.
- Install the backup flange, fiber gasket, and mounting hardware underneath.
- Hand-tighten the hardware while keeping the flange centered.
- Tighten the mounting screws in a gradual, alternating pattern.
- Remove excess sealant from around the sink opening.
Overtightening can distort the flange or damage the sink. Follow the new disposal's instructions instead of relying on force.
Ask someone to hold the flange from above if it turns during tightening. A moving flange can create a slow leak that appears later.
How Do You Mount and Connect the Disposal?
Mount the disposal only after the flange assembly is secure. Align the disposal inlet with the drain path, then lock the unit into its mounting ring without stressing the sink.
- Lift the disposal into position beneath the sink.
- Align its mounting tabs with the mounting ring.
- Turn the unit until the tabs engage.
- Rotate the disposal outlet toward the drain connection.
- Lock the unit using the supplied mounting mechanism.
- Check that the disposal is supported without twisting the flange.
- Connect the discharge tube with the correct gasket and fasteners.
- Keep the drain tube sloping toward the trap when the layout allows.
- Tighten connections firmly without cracking plastic fittings.
The disposal should remain stable after mounting. It should not hang from the drain pipe or move when the discharge tube is connected.
Connect the dishwasher hose safely
Many new disposals include a dishwasher inlet that is sealed with a removable knockout plug. Remove that plug only when a dishwasher hose will connect there.
- Confirm the dishwasher hose reaches the disposal inlet.
- Remove the inlet knockout before attaching the hose.
- Retrieve the knockout from inside the disposal.
- Push the hose fully over the inlet.
- Secure the hose with an appropriate clamp.
- Check the hose for kinks or low spots that hold water.
Forgetting the knockout can block dishwasher drainage. Leaving the hose loose can cause cabinet leaks during a dishwasher cycle.
How Do You Connect the Electrical Supply?
Electrical connections should follow the manufacturer's wiring diagram and local requirements. Do not guess which conductor is hot, neutral, or ground. Do not connect wires with the breaker energized.
A homeowner may be comfortable switching off a breaker and testing a finished installation. Connecting new wiring, changing an outlet, replacing a switch, or correcting a ground is different work.
- Stop if the circuit has no clear grounding path.
- Stop if the wiring colors do not match the diagram.
- Stop if the box, cable, switch, or receptacle looks damaged.
- Stop if the disposal needs a new circuit or altered protection.
- Call a licensed electrician for any uncertain electrical connection.
Never bypass grounding, tape together unknown conductors, or rely on a wire color alone. Safe installation is more important than finishing quickly.
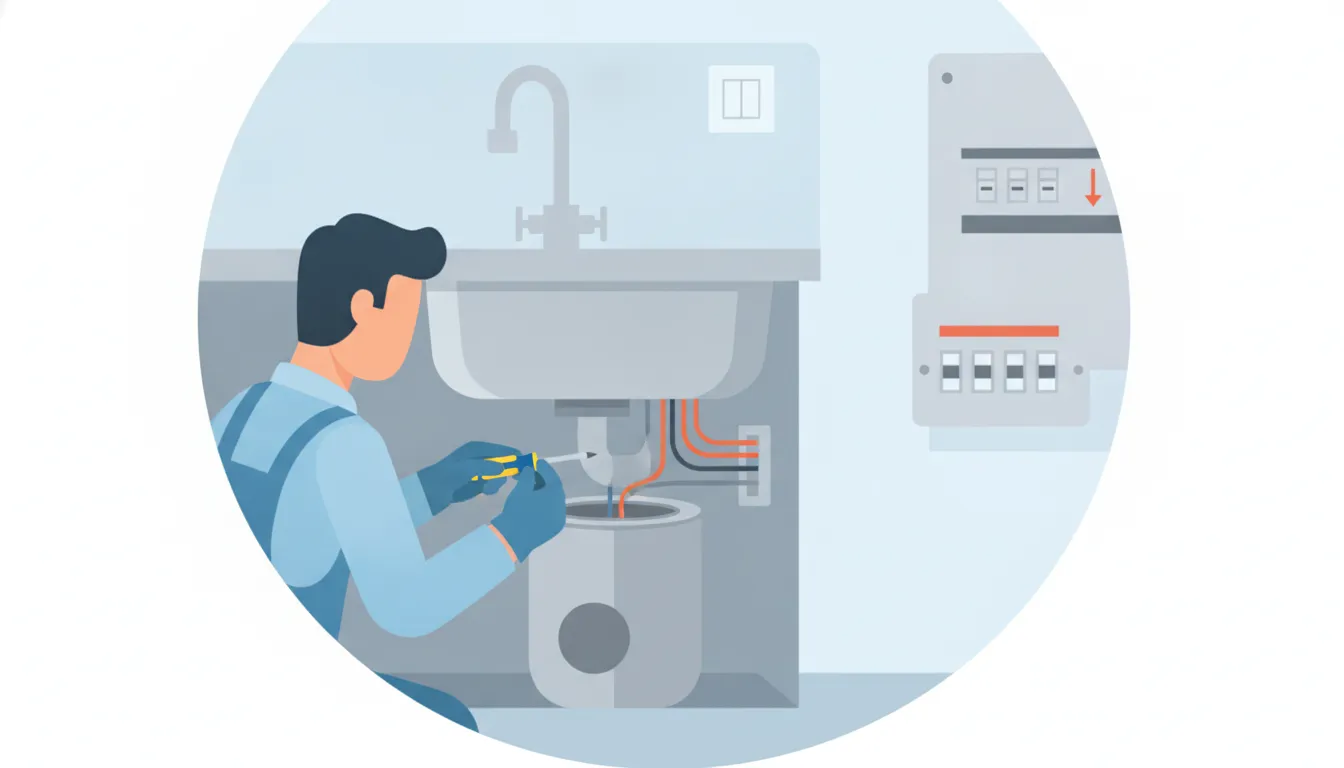
Schedule a professional disposal installation when plumbing or electrical connections are uncertain.
How Do You Test a Garbage Disposal for Leaks?
Test the plumbing before restoring normal use. A slow leak can appear only when the sink fills, the disposal runs, or the dishwasher drains.
- Leave the disposal breaker off while checking plumbing connections.
- Place a dry paper towel beneath the flange, drain, and dishwasher hose.
- Fill the sink with a small amount of clean water.
- Release the stopper and watch every connection.
- Run water through the disposal opening without activating the motor.
- Check the paper towel for dampness.
- Restore electrical power only after the plumbing stays dry.
- Run cold water before briefly testing the disposal.
- Listen for unusual vibration, grinding, or movement.
- Run the dishwasher briefly if its hose connects to the disposal.
- Inspect the cabinet again after the cycle drains.
Turn the system off if you see water, smell burning, or hear severe vibration. Do not reach into the disposal opening.
| Test result | Safe next step |
|---|---|
| Dry flange and drain connections | Continue monitoring during the first few uses. |
| Water at a threaded connection | Turn off water and have the connection resealed or repaired. |
| Dishwasher hose leak | Stop the dishwasher and replace or secure the clamp. |
| Electrical smell or tripped breaker | Leave power off and call a licensed electrician. |
| Strong vibration or movement | Turn the unit off and have the mounting assembly checked. |
When Should a Licensed Professional Take Over?
Call a licensed professional when the work involves uncertain wiring, a new circuit, damaged plumbing, a cracked sink, a stuck mounting ring, or repeated leaks. Professional help also makes sense when the disposal cannot align with the existing drain.
Electrical safety deserves a clear boundary. Miranda Plumbing & Air provides garbage disposal repair and installation, including plumbing and electrical connection services listed for this service.
- Use a licensed electrician for new or altered electrical circuits.
- Use a licensed plumber for drain changes, leaks, or difficult mounting problems.
- Stop immediately when water reaches an electrical box or connection.
- Ask for a written estimate before work begins.
- Keep the disposal manual available for the technician.
Miranda Home Services serves homeowners across Florida's Treasure Coast. The company offers plumbing support in Port St. Lucie, Stuart, Palm City, Jensen Beach, Fort Pierce, Vero Beach, Jupiter, and surrounding communities.
For broader plumbing needs, review Miranda's plumbing services. A related dishwasher supply or drain issue may need dishwasher repair and installation support.
Contact Miranda Plumbing & Air for a safe garbage disposal installation estimate.
Frequently Asked Questions About Garbage Disposal Installation
Can I install a garbage disposal by myself?
You may handle basic mechanical steps if the unit fits and the existing connections are sound. Stop before uncertain electrical work. Follow the manual and local requirements.
Do I need an electrician to install a garbage disposal?
You need an electrician when the work changes wiring, adds a circuit, replaces a switch, or creates uncertainty about grounding. Do not guess with electrical connections.
How do you install a garbage disposal for the first time?
First-time installation usually requires a compatible sink flange, mounting assembly, drain alignment, dishwasher connection, and safe power connection. A professional should handle uncertain plumbing or electrical work.
Can you install a garbage disposal without a dishwasher?
Yes. The disposal can operate without a dishwasher hose. Leave the dishwasher inlet sealed when no dishwasher drains through the disposal.
What should you do if the new disposal leaks?
Turn off the disposal and water flow. Dry the cabinet, identify the leaking connection, and call a plumber if tightening does not solve the problem.
How much does garbage disposal installation cost?
The total depends on the disposal, sink flange, drain layout, electrical setup, access, and any repairs. Request a written estimate for the specific installation.
Ready for Safe Garbage Disposal Installation?
A disposal should drain correctly, stay secure, and operate without creating electrical or water hazards. If the installation involves wiring changes, difficult plumbing, or a persistent leak, professional service can protect your home and your time.
Book safe garbage disposal installation with Miranda Plumbing & Air.
Need plumbing or HVAC service on the Treasure Coast?
Contact Miranda Plumbing & Air